
 +86-0755-86131192
 2025-09-08
With the rapid development of digital medical technology, foot 3D scanners have gradually become an important auxiliary diagnostic and assessment tool in hospital podiatry clinics.
Their characteristics of high precision, non-contact operation, and rapid imaging provide objective data support for personalized diagnosis and treatment of foot deformities, biomechanical abnormalities, and chronic foot conditions.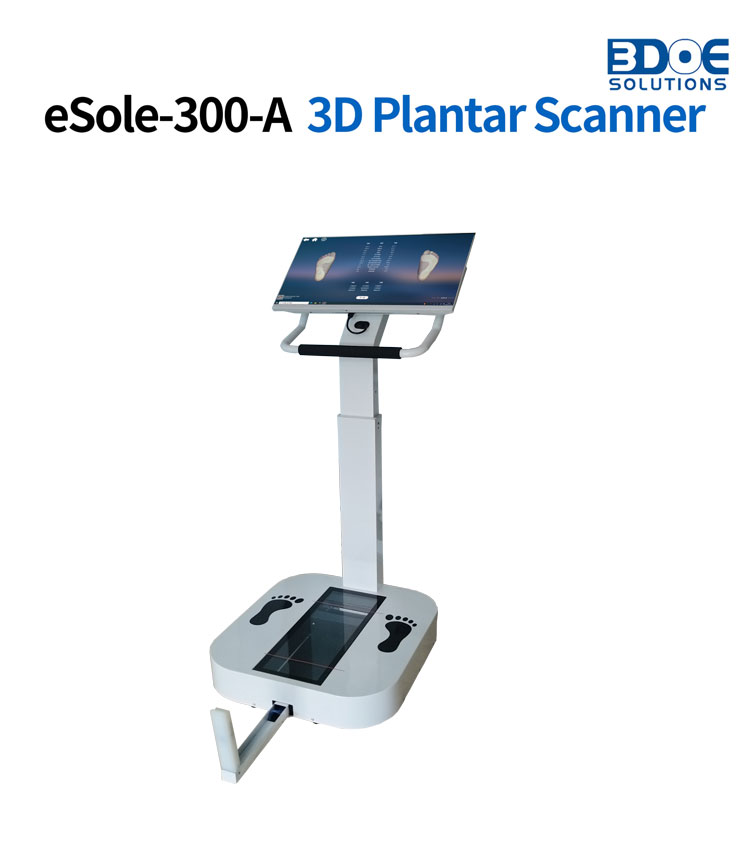
In actual clinical practice, the operation of foot 3D scanners has developed into a standardized procedure, covering multiple stages including patient preparation, data acquisition, image processing, clinical analysis, and subsequent intervention, ensuring the accuracy and practicality of the examination.
Patient Reception, Evaluation, and Indication Confirmation
After entering the podiatry clinic, the patient undergoes initial consultation and physical examination by the physician to understand the chief complaints (such as foot pain, gait instability, abnormal shoe wear), medical history (diabetes, flat feet, hallux valgus, plantar fasciitis, etc.), and previous treatment history.
Based on clinical judgment, if foot structural deformities, alignment abnormalities, or the need for custom orthotic devices are suspected, the physician will order a foot 3D scan.
Common indications include flexible/rigid flatfoot, high arches, early screening of hallux valgus, claw toes, post-traumatic foot shape changes, and diabetic foot risk assessment.
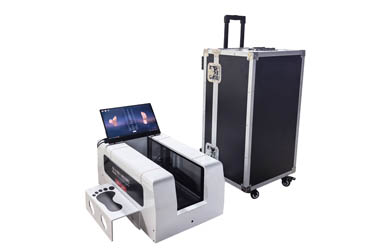
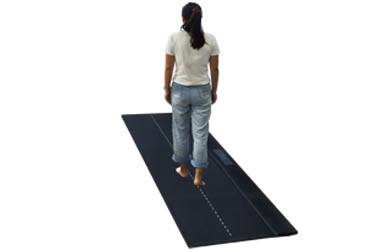
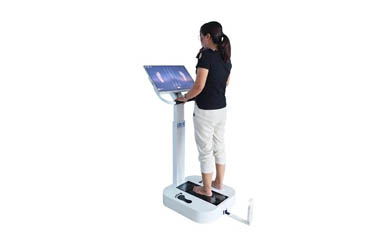
Foot 3D Scanner
Patient Preparation and Environmental Setup
Prior to the examination, medical staff instruct the patient to remove shoes and socks, keeping the feet clean and dry to avoid affecting scanning accuracy due to sweat or stains.
The patient should wear loose clothing to facilitate exposure of the feet and lower limbs. The scanning environment should have soft lighting and a flat floor, avoiding direct strong light or reflective interference. The device should be warmed up and system calibration completed to ensure the scanner is in optimal working condition.
Scanning Position and Data Acquisition
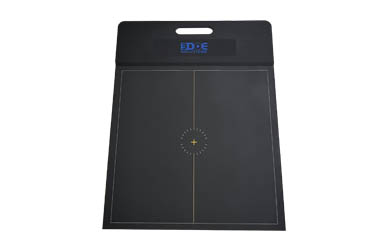
The patient stands at the center of the scanning platform, with both feet placed parallel and toes pointing forward, body weight evenly distributed on both feet, maintaining a natural and relaxed standing posture.
Some systems require the patient to hold onto a wall or handrail to maintain balance and avoid movement. The physician initiates the scan via the operation interface. The device uses structured light or laser technology to complete 3D data acquisition of the soles and side profiles of both feet within 3–5 seconds.
To ensure data completeness, 2–3 scans are typically performed, and the best dataset is selected. For patients unable to stand, a seated foot scanning mode can be used, focusing on acquiring static morphological information.
Image Reconstruction and Data Processing
After data acquisition, the system automatically reconstructs the point cloud data into a 3D stereoscopic model, displaying details such as foot contour, arch shape, toe alignment, and heel angle.
The software allows multi-angle rotation, zooming, and measurement, automatically calculating parameters such as arch index, longitudinal arch angle, forefoot width, and heel valgus angle, and generating standardized reports.
Some advanced systems support overlay analysis with plantar pressure distribution maps, enabling a "morphology + function" dual assessment.
Clinical Analysis and Treatment Decision
The physician combines the 3D model and measurement data to determine whether structural abnormalities exist in the foot and assess their severity.
For example, flatfoot grading is evaluated by observing the degree of arch collapse, or early claw toes are identified by toe flexion angles. Based on the analysis results, personalized intervention plans are formulated: mild deformities are recommended for functional training and footwear adjustment; moderate to severe cases are prescribed custom orthotic insoles; high-risk diabetic patients are included in regular follow-up programs.
Data Archiving and Follow-up Management
The scan data and reports are stored in the hospital’s electronic medical record system as part of the patient’s foot health record, facilitating subsequent comparison and efficacy evaluation.
Physicians recommend regular follow-up examinations (e.g., every 6–12 months) to dynamically monitor changes in foot morphology and adjust treatment strategies in a timely manner.
 Back to list
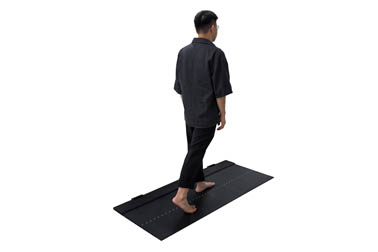


 +86-0755-86131192